Curious about the air quality in your home or workplace? A simple yet effective way to investigate potential mold issues is through petri dish mold testing, a method that has been a cornerstone of microbiology since its inception. Originally designed to replace potato slices for growing bacteria, the invention of the petri dish by Julius Richard Petri in 1887 transformed scientific research and remains a vital tool for culturing mold and bacteria today.
This guide will walk you through a five-step process to use petri dishes for mold assessment, empowering you with the knowledge to detect and address mold growth effectively. Whether you’re a homeowner or a DIY enthusiast, understanding how to leverage this tool can provide peace of mind and actionable insights.
Petri dish mold testing is a practical starting point for anyone concerned about indoor air quality.
What is Petri Dish Mold Testing and Why It Matters
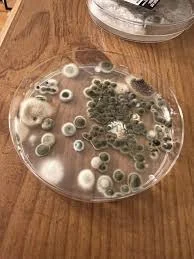
Petri dish mold testing involves capturing mold spores from the air or surfaces and allowing them to grow in a controlled environment, such as mold in a petri dish. This technique uses mold culture plates, typically filled with a nutrient-rich agar, to encourage spore development, making it easier to observe and identify potential issues. For those looking to take a hands-on approach, a DIY mold test kit offers an accessible way to monitor mold levels without immediate professional intervention.
Why does this matter? Mold can affect health, causing respiratory issues or allergic reactions, and it may signal underlying moisture problems in your home. By partnering with experts like Teton Environmental, or using resources such as their Mold Test Kit, you can gain clarity on your indoor environment and take steps to mitigate risks.
-

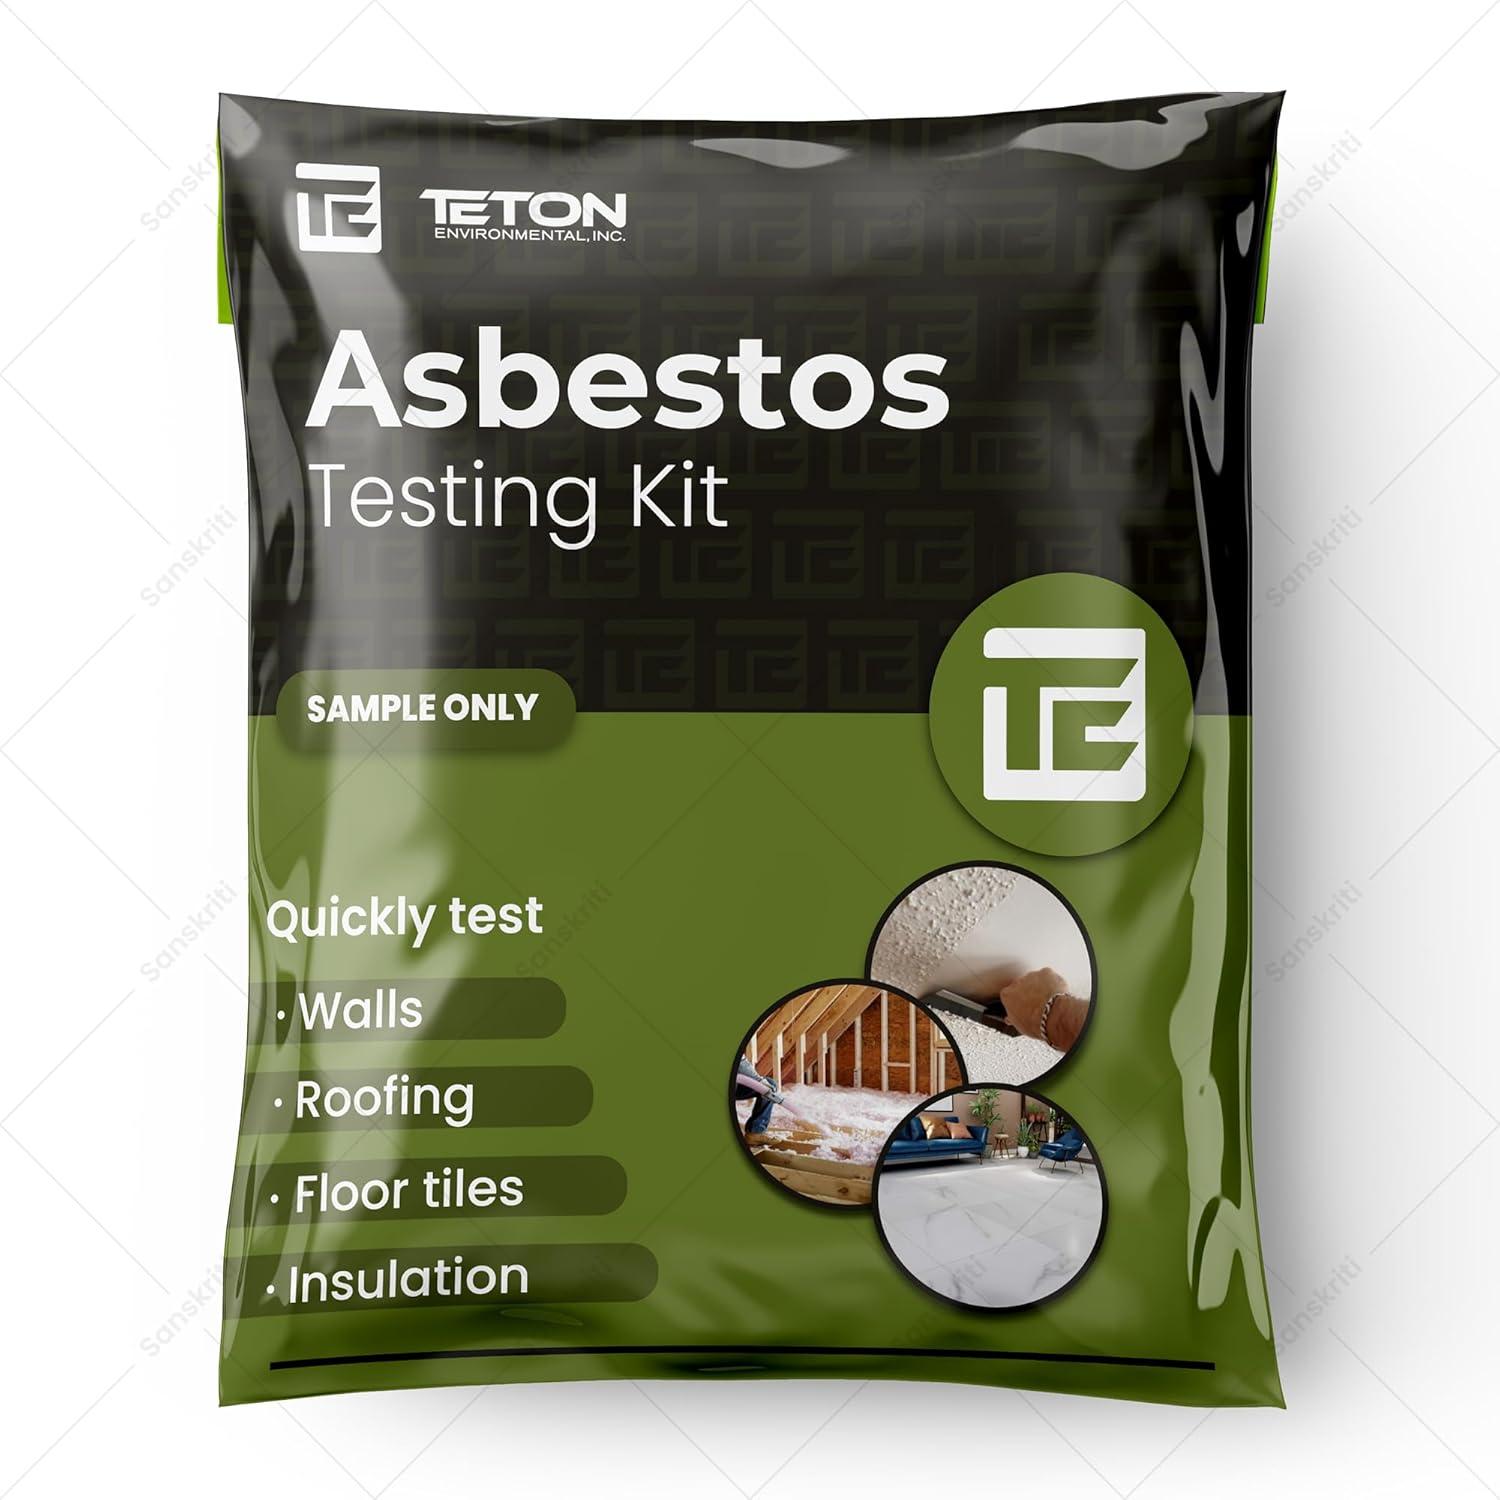
Asbestos Test Kit – Fast, Accurate & EPA-Approved Lab Analysis, Easy-to-Use Sampling, Results in 5-7 Days,
Price range: $49.95 through $109.95 -
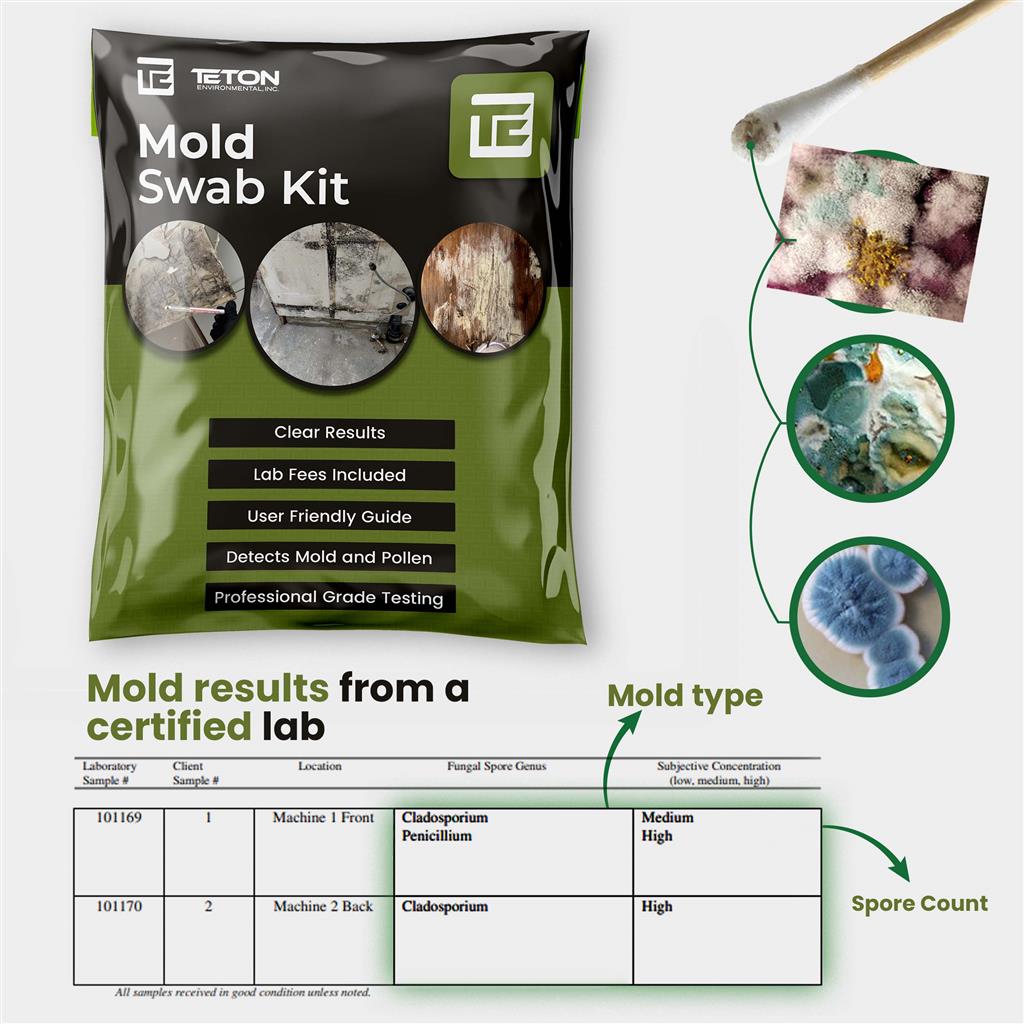
Mold Test Kit – Lab Fees Included, 1 Swab can Detect 20+ Mold Types & Pollen, Easy-to-Use Guide, Professional-Grade Testing
Price range: $54.95 through $124.95
Understanding mold presence through petri dish testing can be a game-changer for maintaining a healthy living space.
Using a Petri Dish Mold Test Step #1 – Prepare the Area Before Testing
Before you begin your petri dish mold experiment, preparation is key to ensuring accurate results. Start by selecting a testing location where mold is suspected—perhaps a damp basement or a room with poor ventilation—and clean the area lightly to avoid stirring up dust that could skew your sample. This step also involves gathering your DIY mold test kit, which typically includes petri dishes, agar, and instructions, to identify mold in petri dish samples effectively.
Safety is paramount during this process. Wear gloves and a mask to protect yourself from spores, and avoid opening the mold petri dish until you’re ready to collect your sample to prevent contamination. For a deeper dive into preparation, check out How to Inspect for Mold in Your Home: 10+ Professional Steps for expert tips on setting the stage for successful testing.
Proper preparation ensures your petri dish mold results are reliable and meaningful.
Petri Dish Mold Safety Tip
When handling mold in petri dish samples, always wear gloves to avoid direct contact with potentially harmful spores. Cross-contamination can occur if you touch multiple surfaces or reuse tools without sterilization, so keep your workspace clean and contained. Different types of mold in petri dish cultures, such as black or white varieties, may require extra caution due to their potential toxicity.
Safety first: protecting yourself is as important as testing the environment.
Step #2 – Choose a Sampling Method
Now that your area is prepped, it’s time to decide how to collect your petri dish mold sample using your DIY mold test kit. Two common methods include air sampling, where you expose mold culture plates to the air for a set period, or surface sampling, where you swab a suspect area and transfer it to the dish. Each approach helps capture mold in a petri dish that reflects your environment’s unique conditions.
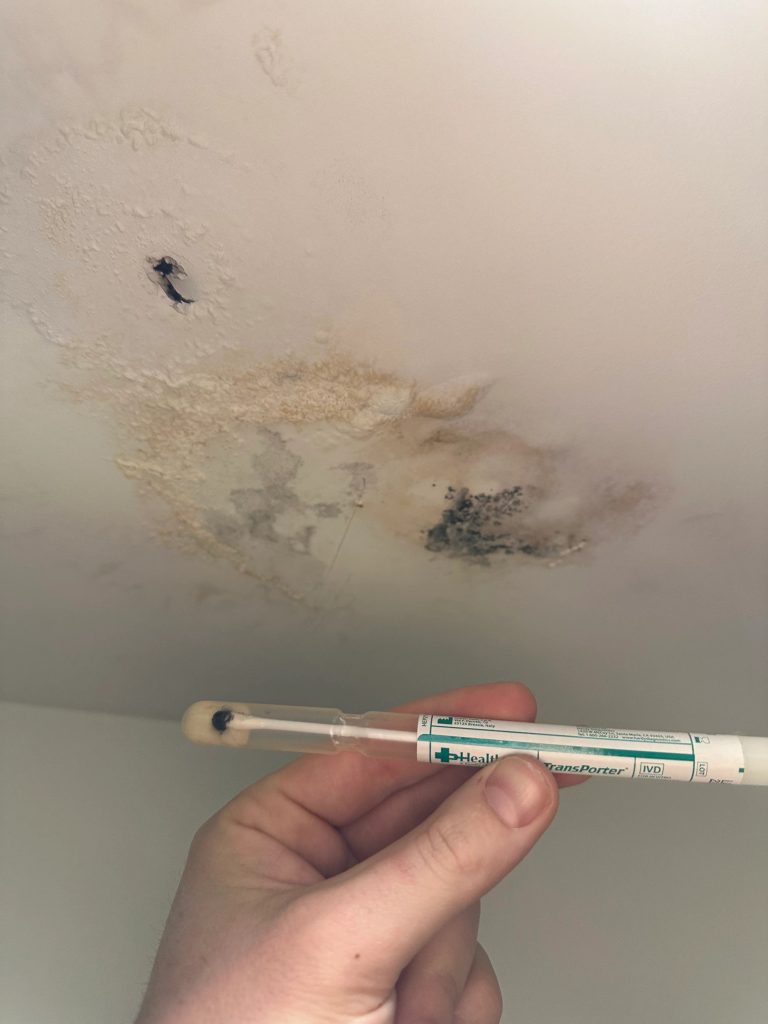
Air sampling is ideal for assessing overall air quality, while surface sampling targets specific spots like walls or furniture. Choose based on your goals—whether you’re investigating a musty smell or visible growth—to ensure your results are relevant and actionable.
Selecting the right sampling method sets the foundation for accurate mold detection.
Petri Dish Mold Tip
For air sampling, consider the difference between settling air (leaving the dish open) and HVAC sampling (placing it near a vent) to capture types of mold in petri dish spores. Settling air might reveal ambient mold in petri dish levels, while HVAC sampling could uncover black mold in petri dish circulating through your system. Each method offers distinct insights, so align your choice with your specific concerns.
Tailoring your approach enhances the precision of your mold assessment.
Step #3 – Let the Mold Grow
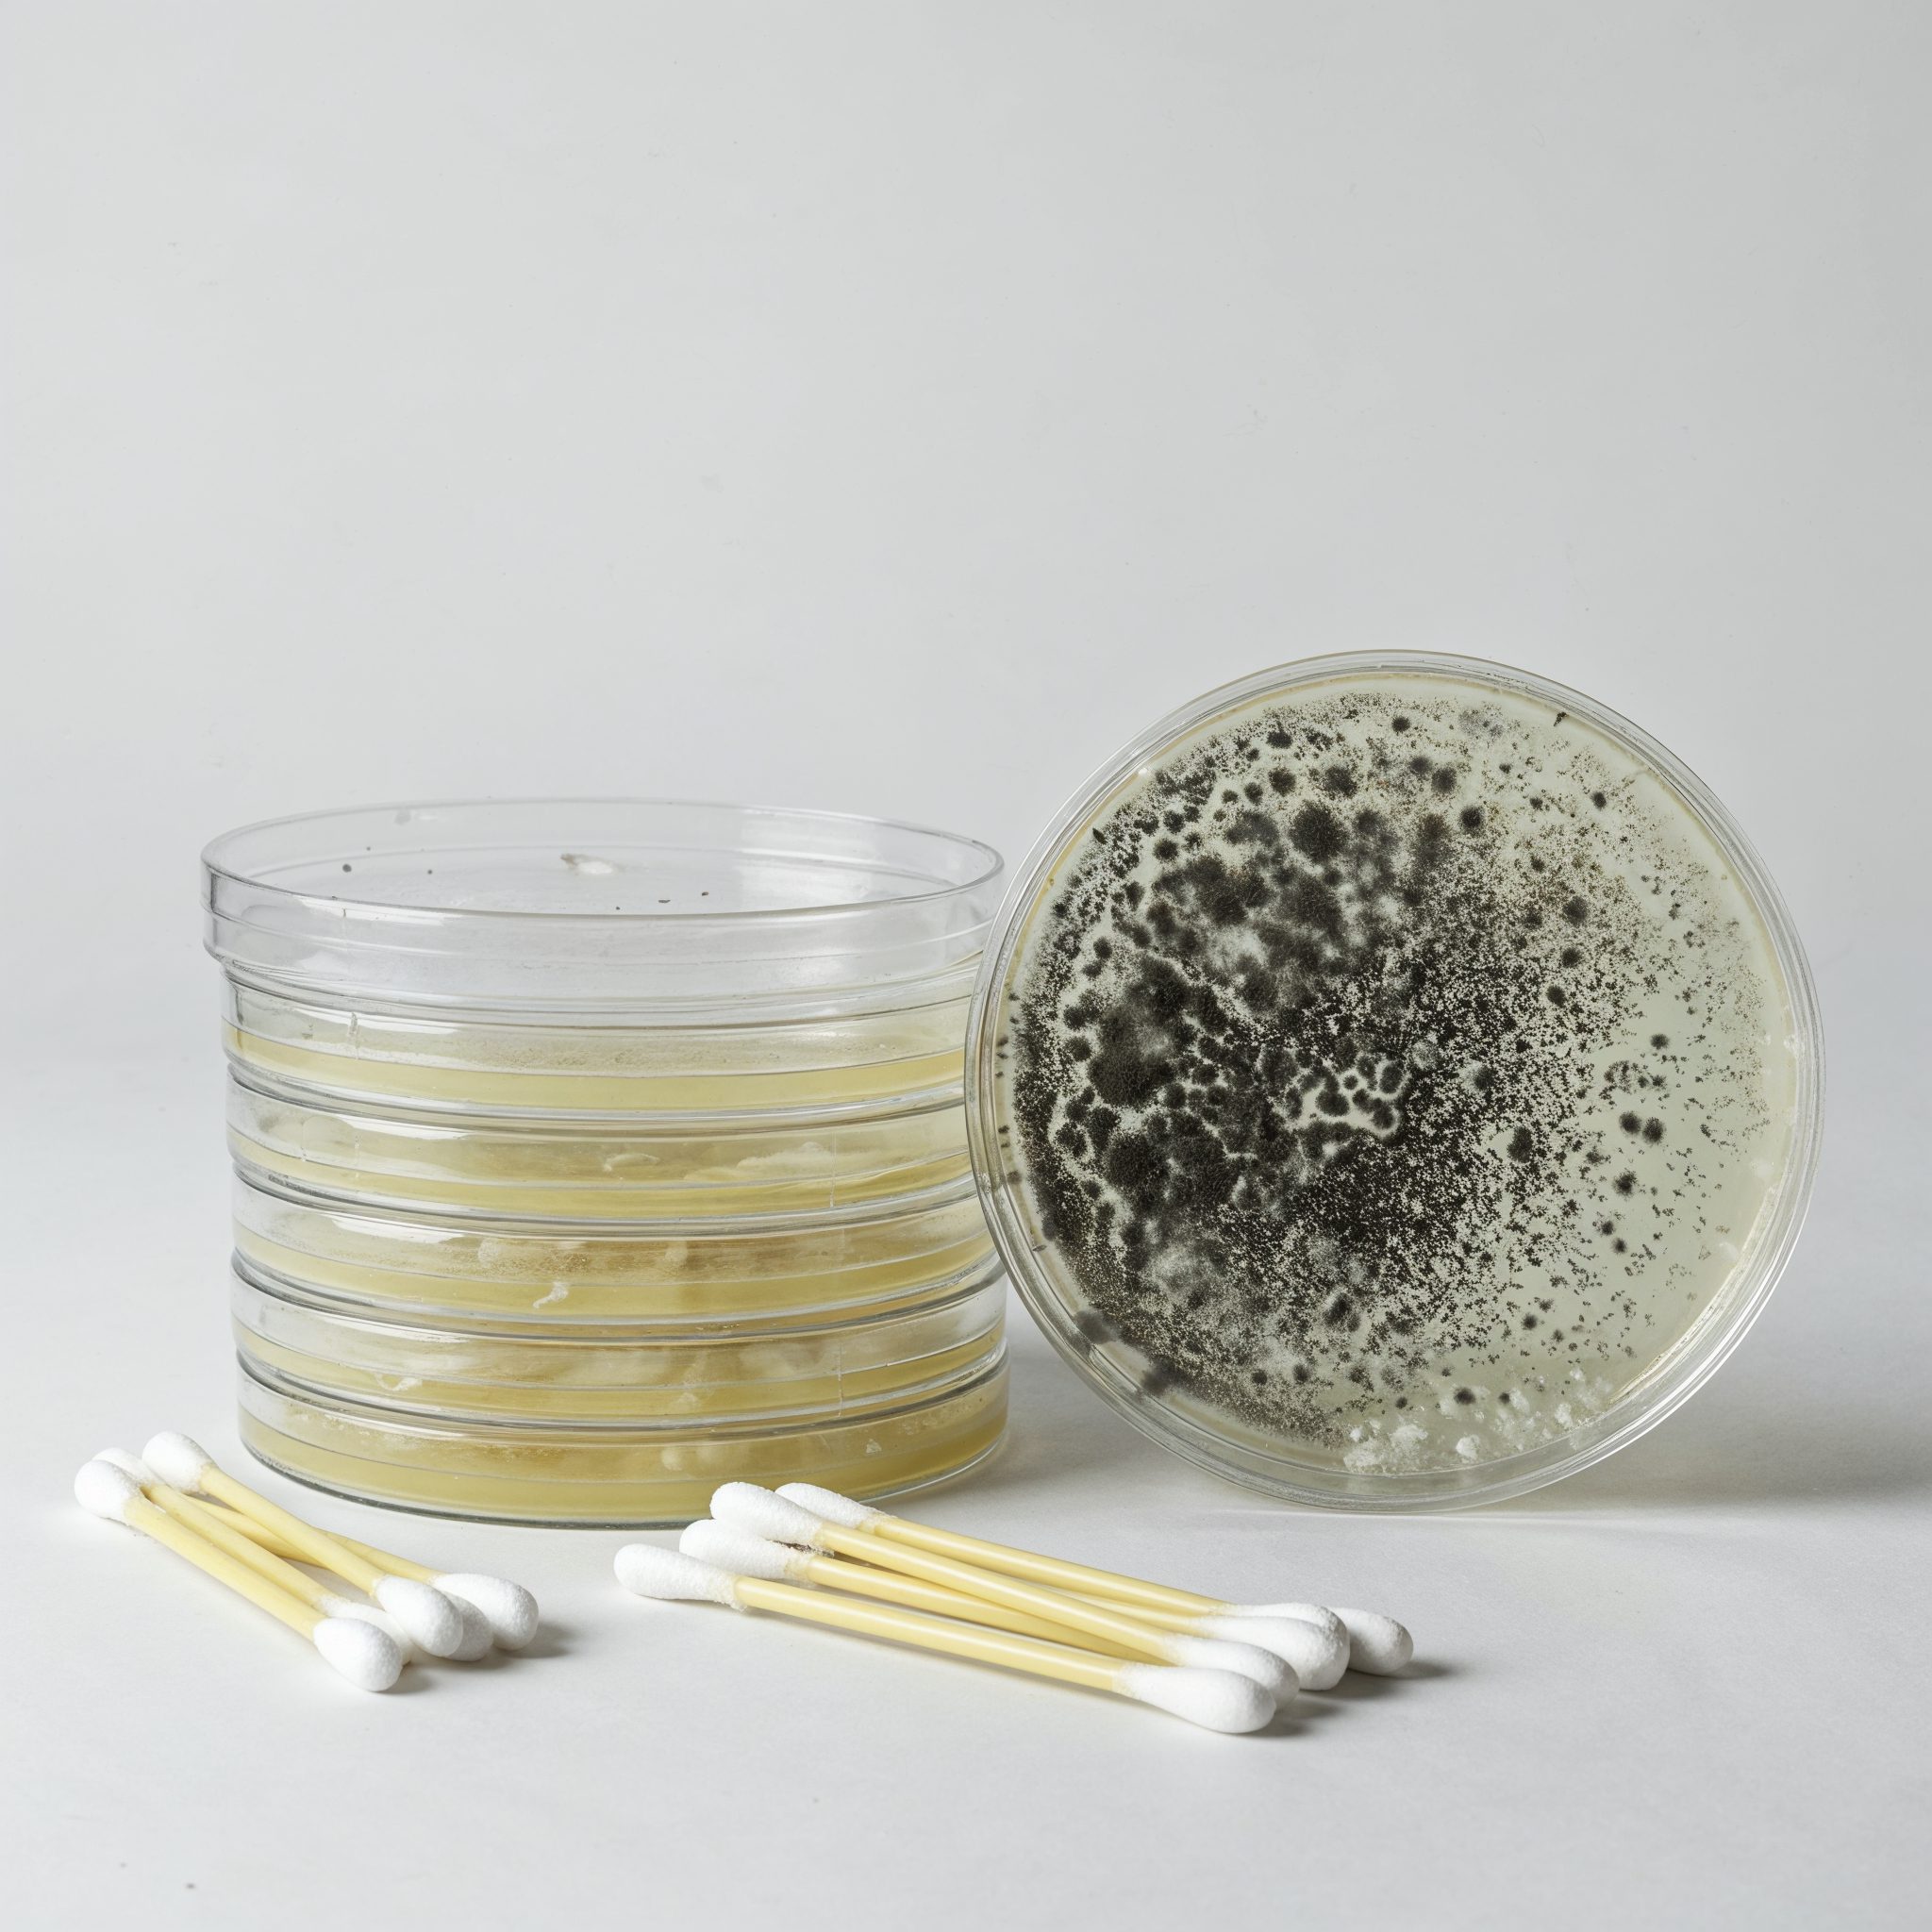
Once your sample is collected, the next step in petri dish mold testing is incubation—allowing time for spores to develop into visible colonies. Place your sealed mold in petri dish in a warm, dark location (around 75-80°F) and wait 48 hours to a week, depending on growth speed. You might notice white fuzzy mold in petri dish or other colors emerge, offering clues to identify mold in petri dish types present.
Patience is essential here, as mold needs time to flourish under the right conditions. For more insights on what to watch for, the Teton Environmental blog offers valuable resources on interpreting growth patterns.
Incubation transforms invisible spores into visible evidence of mold activity.
Petri Dish Mold Incubation Time – What to Expect
Typically, mold petri dish cultures show growth within 3-7 days, with mold in a petri dish forming distinct colonies. Faster growth, like black mold in petri dish, might appear in as little as 48 hours, while slower varieties could take longer. Monitor daily, noting color and texture changes to gauge the extent of contamination.
Timing is critical: knowing when to check can reveal the full scope of your mold issue.
Petri Dish Mold Step #4 – Count the Colonies
After incubation, it’s time to analyze your petri dish mold by counting the colonies that have formed. Using a magnifying glass, examine your mold in petri dish to tally distinct growths, which can indicate the concentration of spores in your sample. Different types of mold in petri dish—from fuzzy white patches to dark spots—provide a visual map of your air or surface quality.
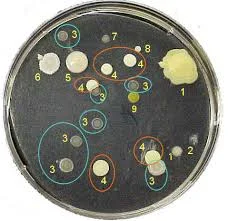
Record the number and appearance of colonies, as this data helps assess severity. If the dish is overcrowded with growth, it might suggest a significant mold problem requiring further action.
Counting colonies turns raw data into a clear picture of mold presence.
Petri Dish Mold Analysis – When to Send It to a Lab
If your mold culture plates show heavy growth or unfamiliar black mold in petri dish, consider sending them to a lab to identify mold in petri dish species precisely. Labs can distinguish between harmless molds and toxic varieties like Stachybotrys, offering detailed reports beyond DIY capabilities. This step is especially wise if health symptoms or structural damage are concerns.
Lab analysis provides expert clarity when DIY results raise red flags.
Step #5 – Get Help from a Pro if Needed
Interpreting your mold petri dish results might leave you with questions—especially if growth is extensive. While a DIY mold test kit empowers you to start the process, professional help can confirm findings and recommend solutions for mold in petri dish issues. Services like Mold Inspection and Testing from Teton Environmental offer comprehensive evaluations beyond what petri dishes alone can reveal.

Professionals bring specialized equipment and expertise to pinpoint sources and suggest remediation. Don’t hesitate to escalate if your initial test suggests a bigger problem.
Expert assistance bridges the gap between detection and resolution.
Petri Dish Mold Results
Your mold in a petri dish results can reveal air quality insights, with white fuzzy mold in petri dish or other growths indicating spore levels. High colony counts might signal poor ventilation or hidden leaks, while sparse growth could mean minimal issues. Use these findings, alongside tools to identify mold in petri dish, to decide your next steps.
Results are your roadmap to a healthier indoor environment.
Other Services We Offer
Beyond mold testing, we provide a range of environmental solutions to keep your space safe and sustainable.
Asbestos Testing
Concerned about asbestos in older buildings? Our Asbestos Testing services identify this hazardous material with precision.
Lead Testing
Protect your family from lead exposure with our thorough Lead Testing process, tailored to your property’s needs.
Erosion Control
Prevent soil loss and maintain land integrity with our Erosion Control expertise, perfect for construction or landscaping projects.
Water Testing Services
Ensure your water is safe with comprehensive testing for contaminants, rounding out our commitment to your environmental health.
Hire Teton Environmental for Your Mold Inspection & Testing Needs!
When petri dish mold testing uncovers potential issues, trust Teton Environmental to take your assessment to the next level. Our team excels at identifying mold in a petri dish, including types of mold in petri dish like black mold in petri dish, ensuring no detail is overlooked. Contact Teton Environmental today to schedule a professional inspection and safeguard your home.
We combine cutting-edge tools with years of experience to deliver results you can rely on. Don’t let mold linger—let us help you breathe easier.
Teton Environmental is your partner in creating a mold-free, healthy space.